

Gluten-free bread has grown in popularity over the years, becoming a staple not only for those with Celiac disease or gluten sensitivities but also for health-conscious individuals exploring alternative diets. Unlike traditional bread, which relies on gluten for its structure and elasticity, it requires a creative approach to mimic the same texture and flavor. This has sparked a revolution in the baking world, as home bakers and professionals alike experiment with innovative ingredients and techniques to perfect the art of gluten-free bread-making.
Whether you’re baking to accommodate a medical condition, exploring new culinary territory, or simply seeking healthier options, it opens up a world of possibilities. With an array of alternative flours like almond, sorghum, and rice, combined with binders such as psyllium husk and xanthan gum, gluten-free bread is a true testament to the power of culinary innovation.
What makes it particularly exciting is the ability to tailor it to your preferences. You can create everything from fluffy sandwich loaves to seeded artisan breads and even sweet breakfast options. And while gluten-free baking may seem daunting at first, it’s surprisingly simple once you understand the basics. With the right tools, ingredients, and a touch of patience, you can bake loaves that rival—or even surpass—traditional bread in both flavor and texture.
This guide will not only walk you through the process of making perfect gluten-free bread but also explore the science behind its ingredients, offer troubleshooting tips, and introduce creative variations to inspire your baking journey.
Why Is Worth the Effort

Baking gluten-free bread at home may seem intimidating at first, but it’s a deeply rewarding process that allows you to customize every aspect of your loaf. Unlike store-bought options that often lack flavor or freshness, homemade gluten-free bread offers a chance to experiment with unique flour combinations and creative flavors. Imagine the satisfaction of pulling a warm, golden loaf out of the oven, knowing it’s tailored to your dietary needs and personal tastes. Plus, when you master gluten-free baking, you gain a skill that can be applied to a wide variety of recipes, from sweet treats like banana bread to savory creations like pizza crust. By taking control of the ingredients, you’re not just baking bread—you’re embracing a lifestyle of healthier, fresher, and more delicious meals.
Key Ingredients
Crafting gluten-free bread begins with understanding the unique properties of its ingredients. Unlike traditional bread, gluten-free recipes often require a blend of flours, binders, and leavening agents to create the right structure and flavor.
1. Flour Alternatives
- Rice Flour: A versatile, mild-flavored base for it .
- Almond Flour: Adds richness and a subtle nutty flavor.
- Sorghum Flour: Provides a slightly sweet taste and pairs well with rice flour.
- Oat Flour: Delivers a hearty, wholesome texture.
2. Binders and Additives
- Xanthan Gum: Helps mimic gluten’s elasticity and binds the dough.
- Psyllium Husk: Enhances moisture retention and structure.
- Chia Seeds or Flaxseeds: Natural binders that boost fiber and nutrition.
For a closer look at incorporating gluten-free ingredients into savory meals, check out this chicken meatballs recipe, which uses gluten-free components for a moist and flavorful result.
Step-by-Step Guide to Baking Gluten-Free Bread
Step 1: Mix the Dough
- Combine your gluten-free flours, binders, and salt in a large bowl.
- In a separate bowl, mix warm water, oil, and yeast (if using).
- Gradually add the wet mixture to the dry ingredients, stirring until a thick, sticky dough forms.
Pro Tip: Gluten-free dough is wetter than traditional dough. Avoid adding excess flour as this can make the bread dense.
Step 2: Knead and Proof
- Gluten-free dough doesn’t need traditional kneading but should be mixed thoroughly to ensure even hydration.
- Transfer the dough to a greased loaf pan, cover with a damp towel, and let it rise in a warm place for 45–60 minutes.
Proper proofing ensures the bread has a light texture, much like how balancing moisture elevates dishes such as Tuscan chicken.
Step 3: Bake the Bread
- Preheat the oven to 375°F (190°C).
- Bake the loaf for 35–40 minutes, or until the crust is golden brown and a toothpick inserted into the center comes out clean.
- Allow the bread to cool completely on a wire rack before slicing to avoid crumbling.
Creative Variations of Gluten-Free Bread

1. Seeded Gluten-Free Bread
Enhance your bread with seeds like chia, sesame, or sunflower for extra crunch and nutrition. This technique mirrors how toppings elevate recipes like green bean casserole, adding texture and flavor.
2. Sweet Gluten-Free Bread
For a breakfast-friendly loaf, incorporate dried fruits, honey, or cinnamon into the dough. This variation pairs wonderfully with coffee or tea. For more dessert inspiration, explore this no-bake cheesecake recipe.
Storing and Serving Gluten-Free Bread
Storing
- At Room Temperature: Keep in an airtight container for up to 2 days.
- In the Refrigerator: Extend shelf life to 5–7 days, though refrigeration may slightly firm the texture.
- In the Freezer: Slice the bread before freezing, placing parchment paper between slices to prevent sticking.
When reheating, lightly toast or microwave the slices to restore softness.
Serving Ideas
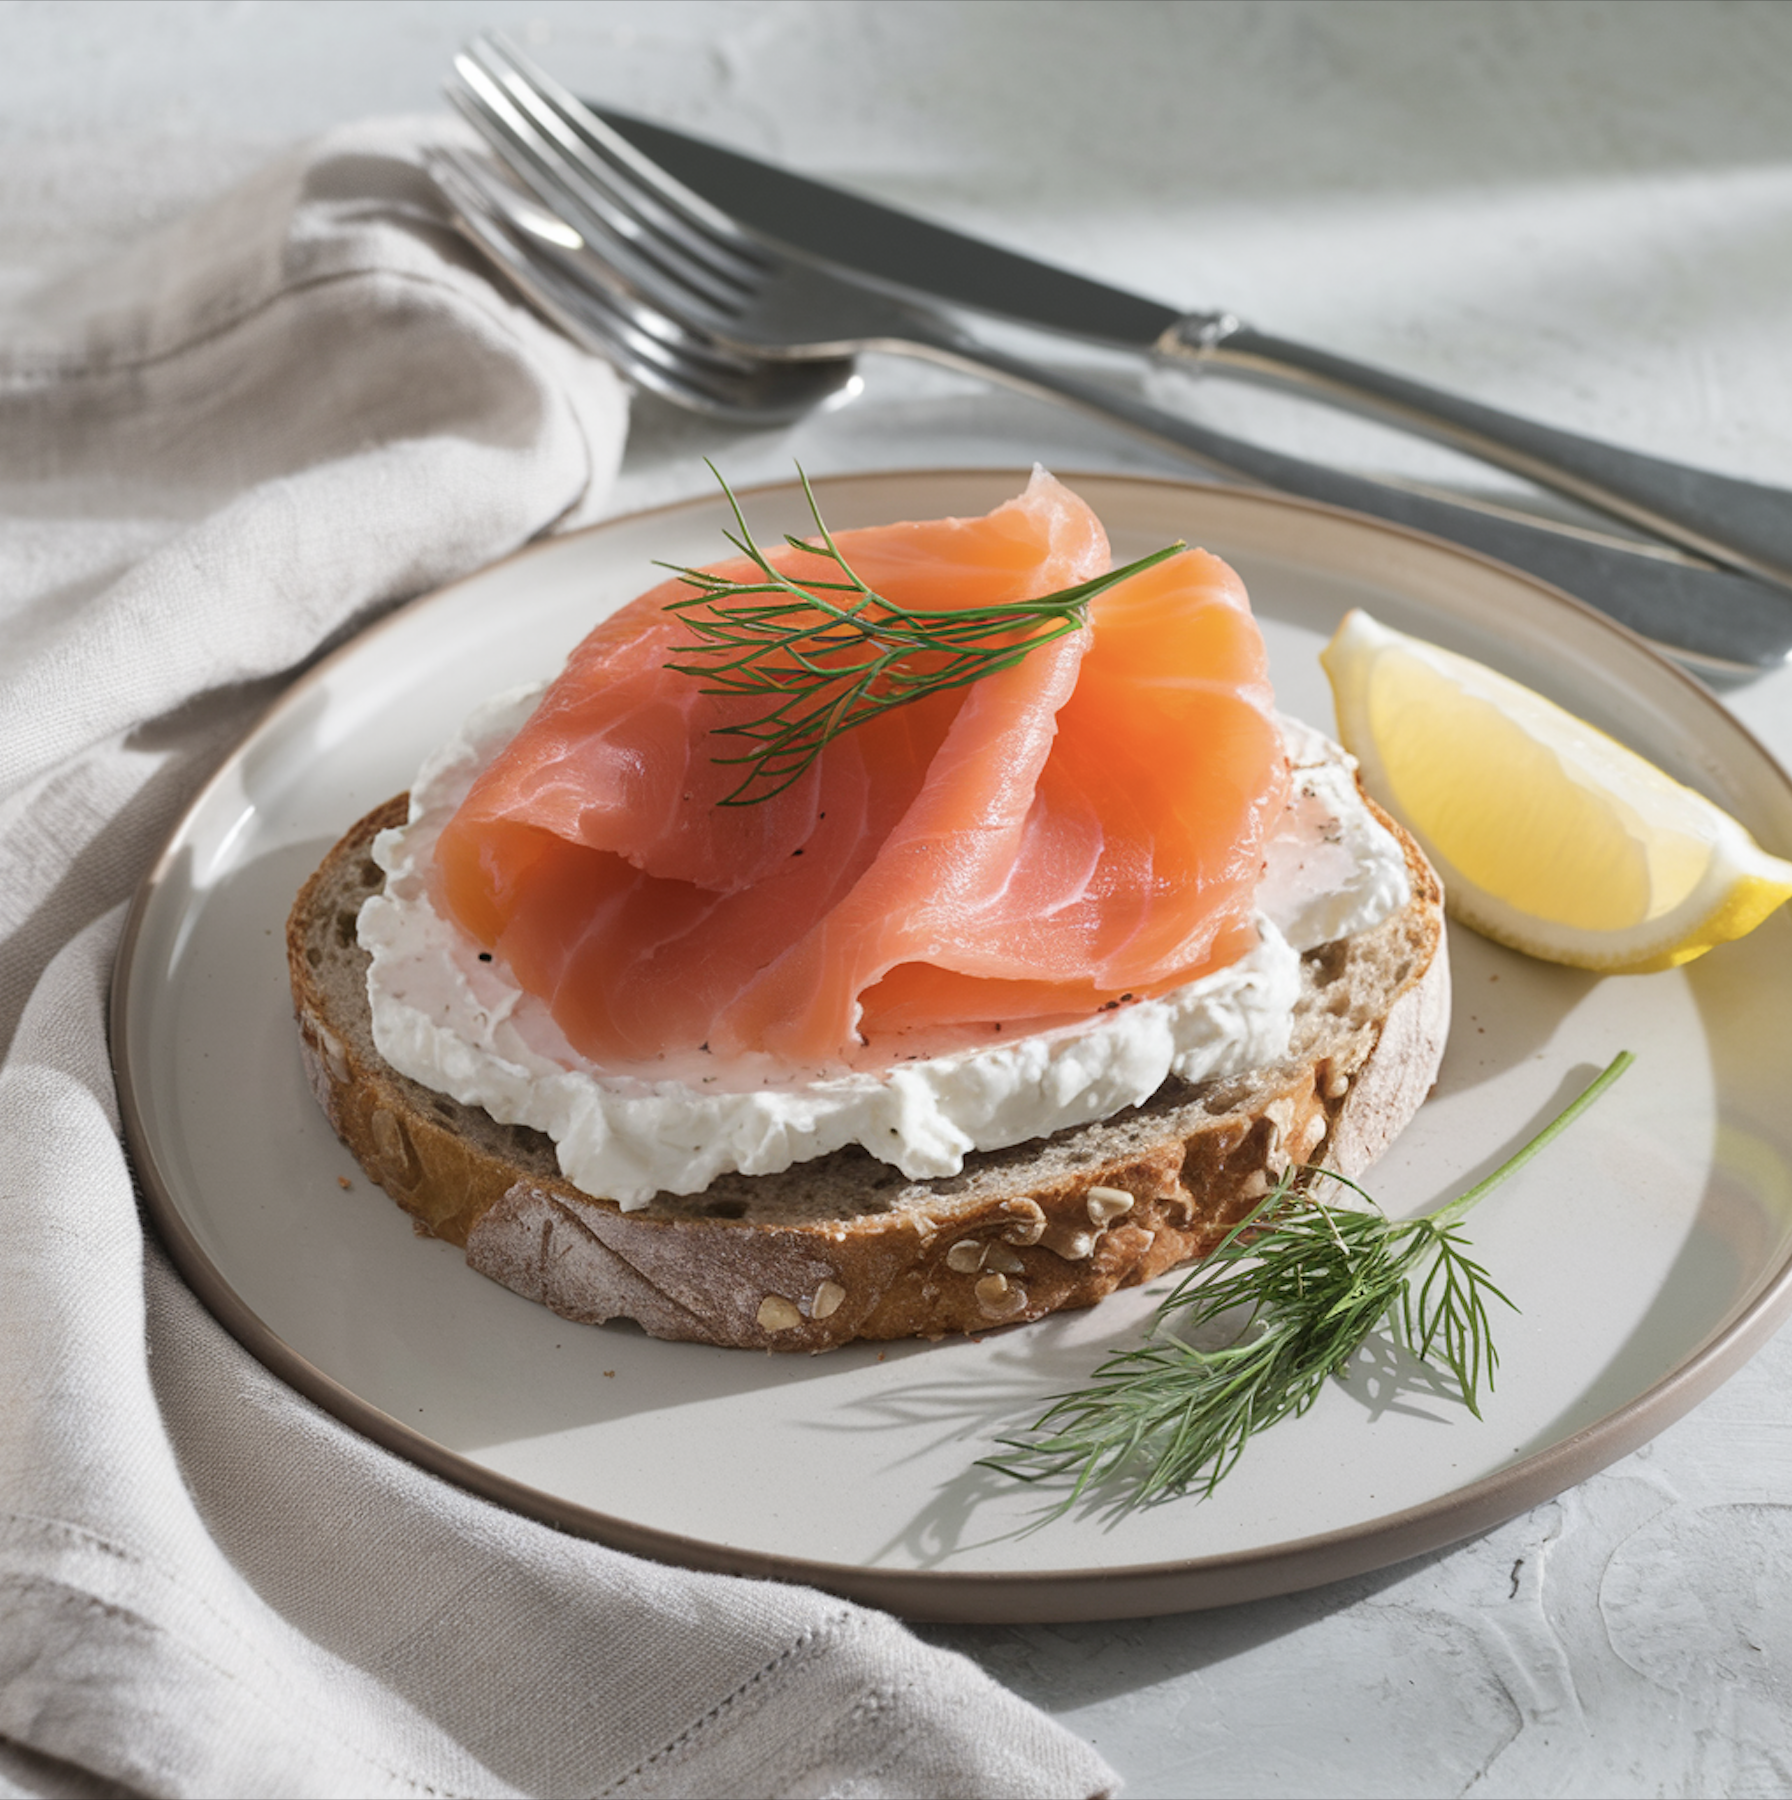
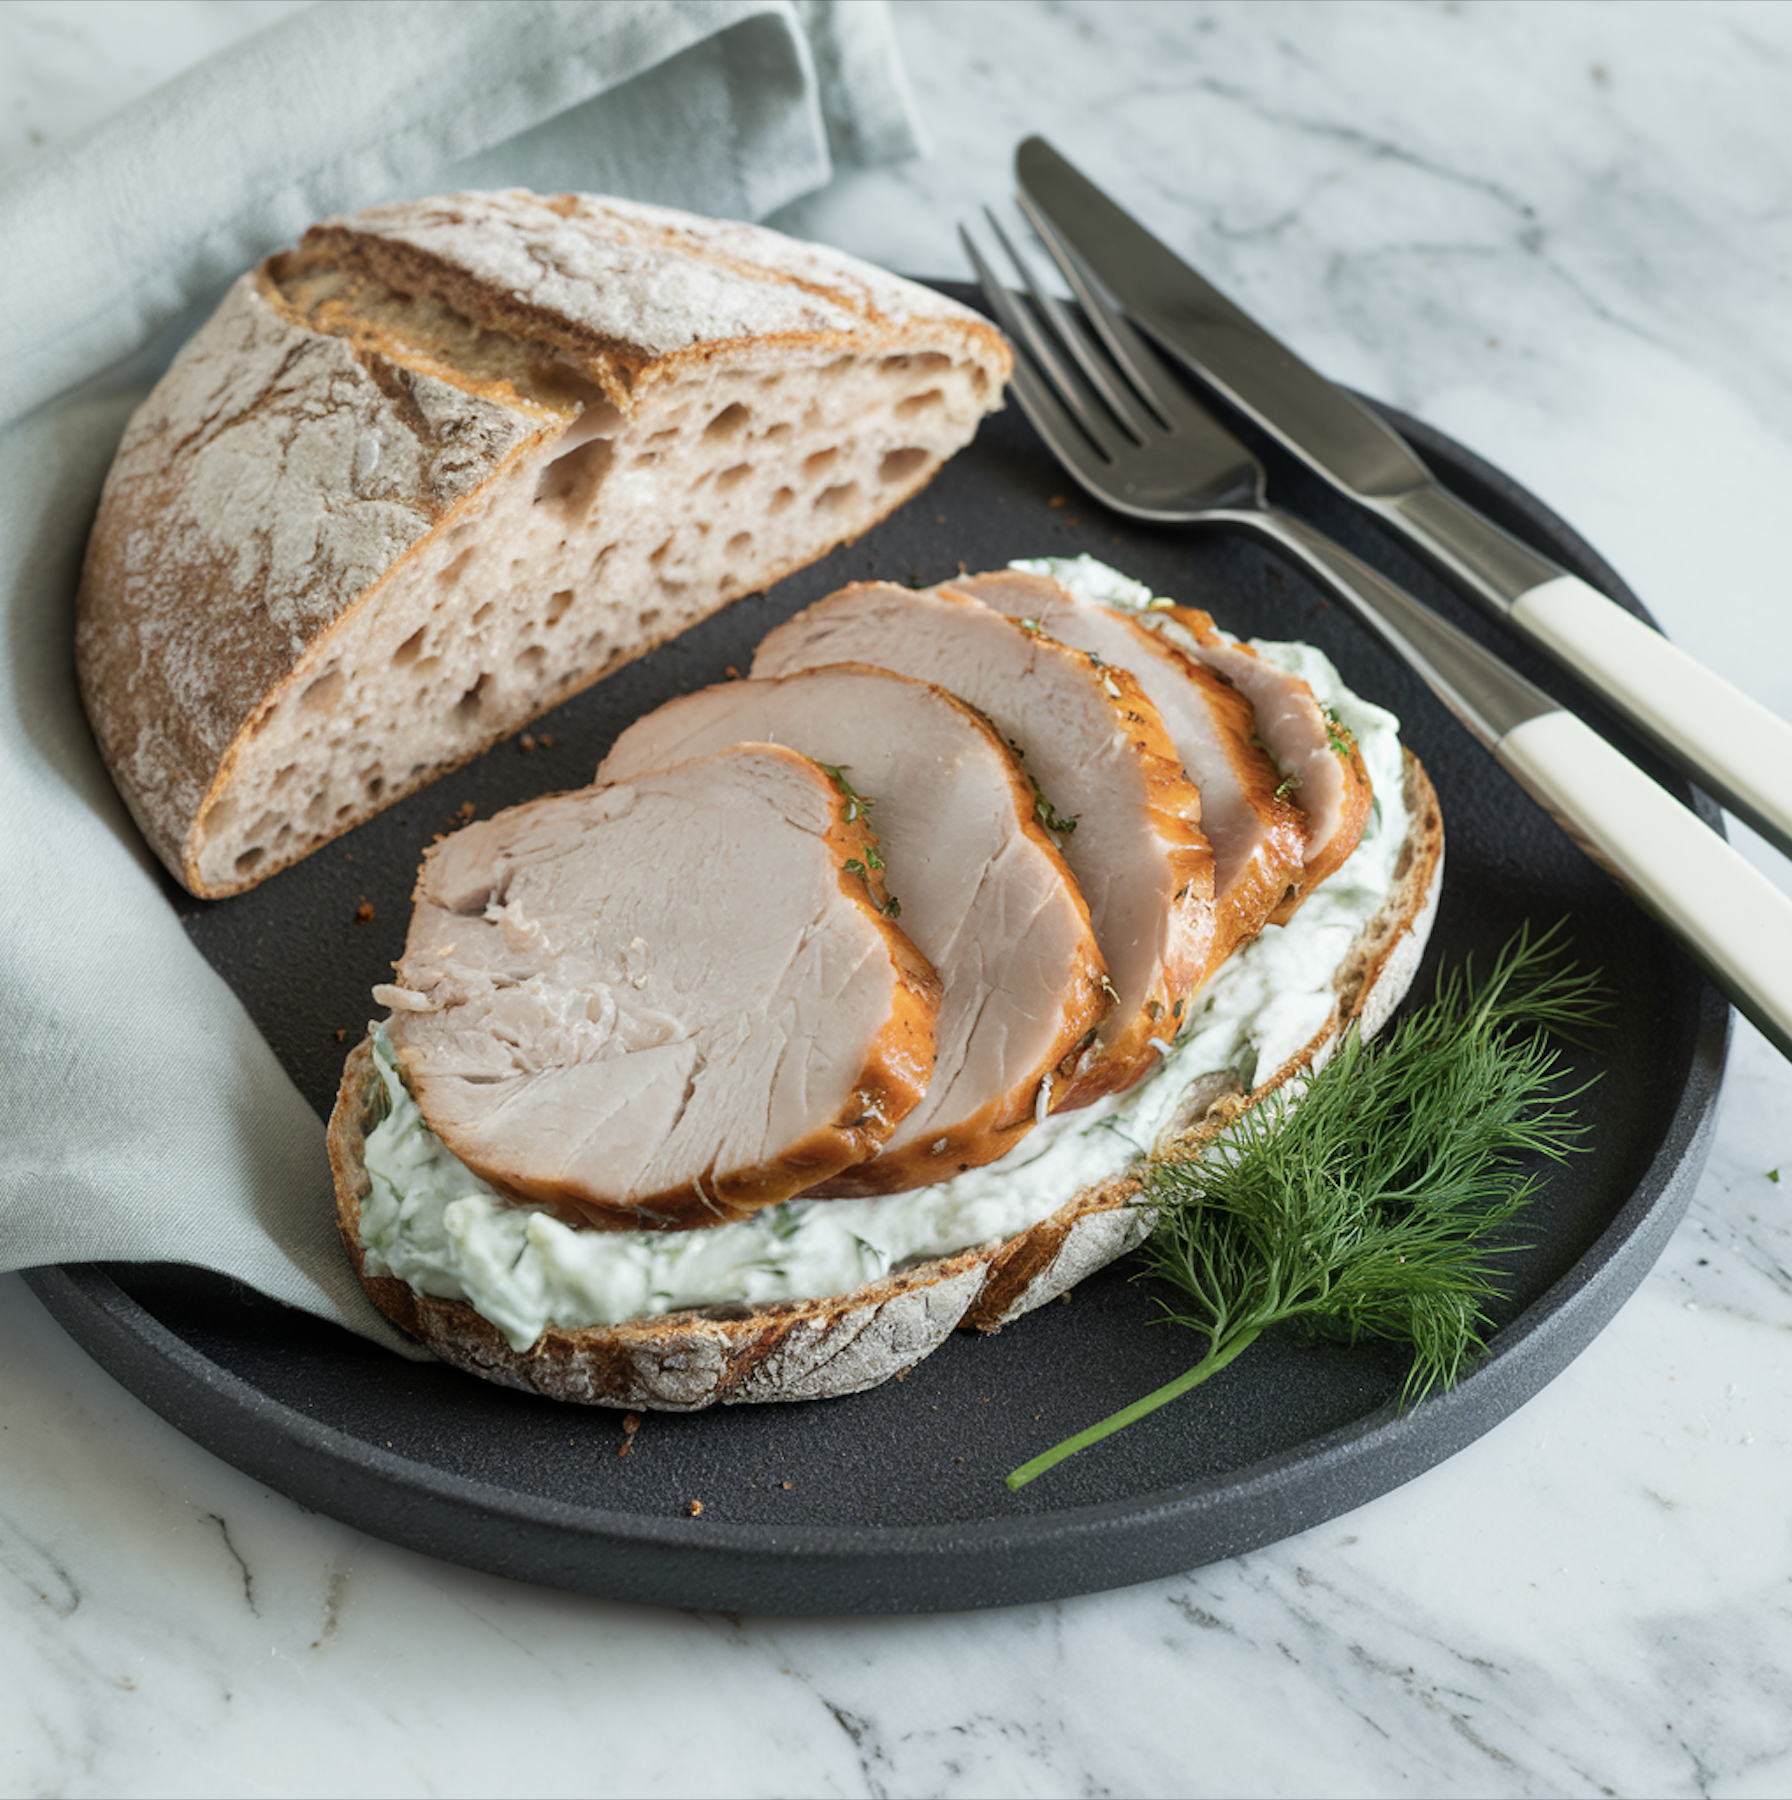
- Savory Pairings: Use it to make sandwiches or pair with spreads like hummus or avocado.
- As a Side Dish: Serve with hearty meals like chicken parmesan casserole, complementing the rich flavors.
FAQs About Gluten-Free Bread
1. What is the best flour for gluten-free bread?
There isn’t a one-size-fits-all flour for it. A combination of flours is often best to achieve the desired texture and flavor. For example:
- Rice Flour: A common base for its mild flavor.
- Sorghum Flour: Adds a slight sweetness and complements other flours.
- Almond Flour: Provides moisture and richness, ideal for softer breads.
- Oat Flour: Offers a hearty texture and is great for whole-grain flavor.
For more information on gluten-free flours, check out this guide on gluten-free baking ingredients.
2. Can gluten-free bread be made without yeast?
Yes, it can be made without yeast by using quick leavening agents like baking powder or baking soda. These recipes are referred to as “quick breads” and often have a denser texture.
- Use carbonated water or apple cider vinegar combined with baking soda to create lightness.
- Yeast-free bread is faster to make since it doesn’t require proofing.
If you’re new to gluten-free bread-making, consider exploring this beginner’s guide to gluten-free baking.
3. Why is my gluten-free bread dense?
A dense loaf of gluten-free bread usually stems from:
- Insufficient Hydration: Gluten-free dough needs more liquid than traditional dough.
- Incorrect Flour Ratios: Using a single type of flour instead of a mix can result in poor texture.
- Underproofing or Overproofing: Proofing the dough correctly is crucial for structure and airiness.
Learn more about troubleshooting bread recipes in this detailed bread-making guide.
4. Can I use all-purpose gluten-free flour for bread-making?
Yes, most all-purpose gluten-free flours are designed to be versatile and include binders like xanthan gum. However, their effectiveness can vary depending on the recipe. For optimal results:
- Choose a flour blend specifically labeled for bread recipes.
- Consider adding extra psyllium husk or xanthan gum for structure.
For tips on selecting the best flour blends, check out this guide on gluten-free flour substitutes.
5. What’s the best way to make gluten-free bread fluffier?
To achieve a fluffier texture in gluten-free bread:
- Incorporate Psyllium Husk: It holds moisture and creates elasticity.
- Use Carbonated Water: Adds air bubbles for lightness.
- Ensure Proper Proofing: Overproofing or underproofing can cause dense loaves.
- Add Eggs: They provide structure and richness, contributing to a lighter texture.
For additional tips, visit this expert resource on bread baking techniques.
6. How do I store gluten-free bread to keep it fresh?
It tends to dry out faster than regular bread. Here’s how to keep it fresh:
- Room Temperature: Store in an airtight container for up to 2 days.
- Refrigeration: Extend its shelf life to 5–7 days by wrapping it tightly in plastic wrap.
- Freezing: Slice before freezing to make reheating easier. Use parchment paper between slices to prevent sticking.
When reheating, lightly toast or microwave slices to restore softness. For additional storage tips, visit this article on food storage safety.
7. Can I freeze gluten-free bread dough?
Yes, it dough can be frozen, though the texture might vary slightly upon baking. To freeze:
- Shape the dough and wrap it tightly in plastic wrap.
- Store in a freezer-safe bag for up to 3 months.
When ready to bake, thaw the dough overnight in the refrigerator and bake as directed.
For more freezing tips, check out this guide to freezing homemade baked goods.
8. Can I make gluten-free bread vegan?
Absolutely! To make it vegan, use these substitutions:
- Replace eggs with flaxseed or chia seed gel (1 tablespoon of seeds mixed with 3 tablespoons of water).
- Use plant-based milk like almond or oat milk.
- Choose vegan butter or coconut oil instead of dairy butter.
For more vegan-friendly recipe ideas, explore this collection of vegan baking recipes.

Conclusion
Making gluten-free bread at home may require some experimentation, but the reward is a delicious, customizable loaf that meets dietary needs and tastes fantastic. Whether you prefer seeded, sweet, or classic variations, this guide has you covered with tips and techniques.
For more gluten-free ideas, explore complementary recipes like Tuscan chicken or no-bake cheesecake. With these resources, your gluten-free kitchen will always be full of possibilities.
Start baking today and enjoy the satisfaction of homemade gluten-free bread!