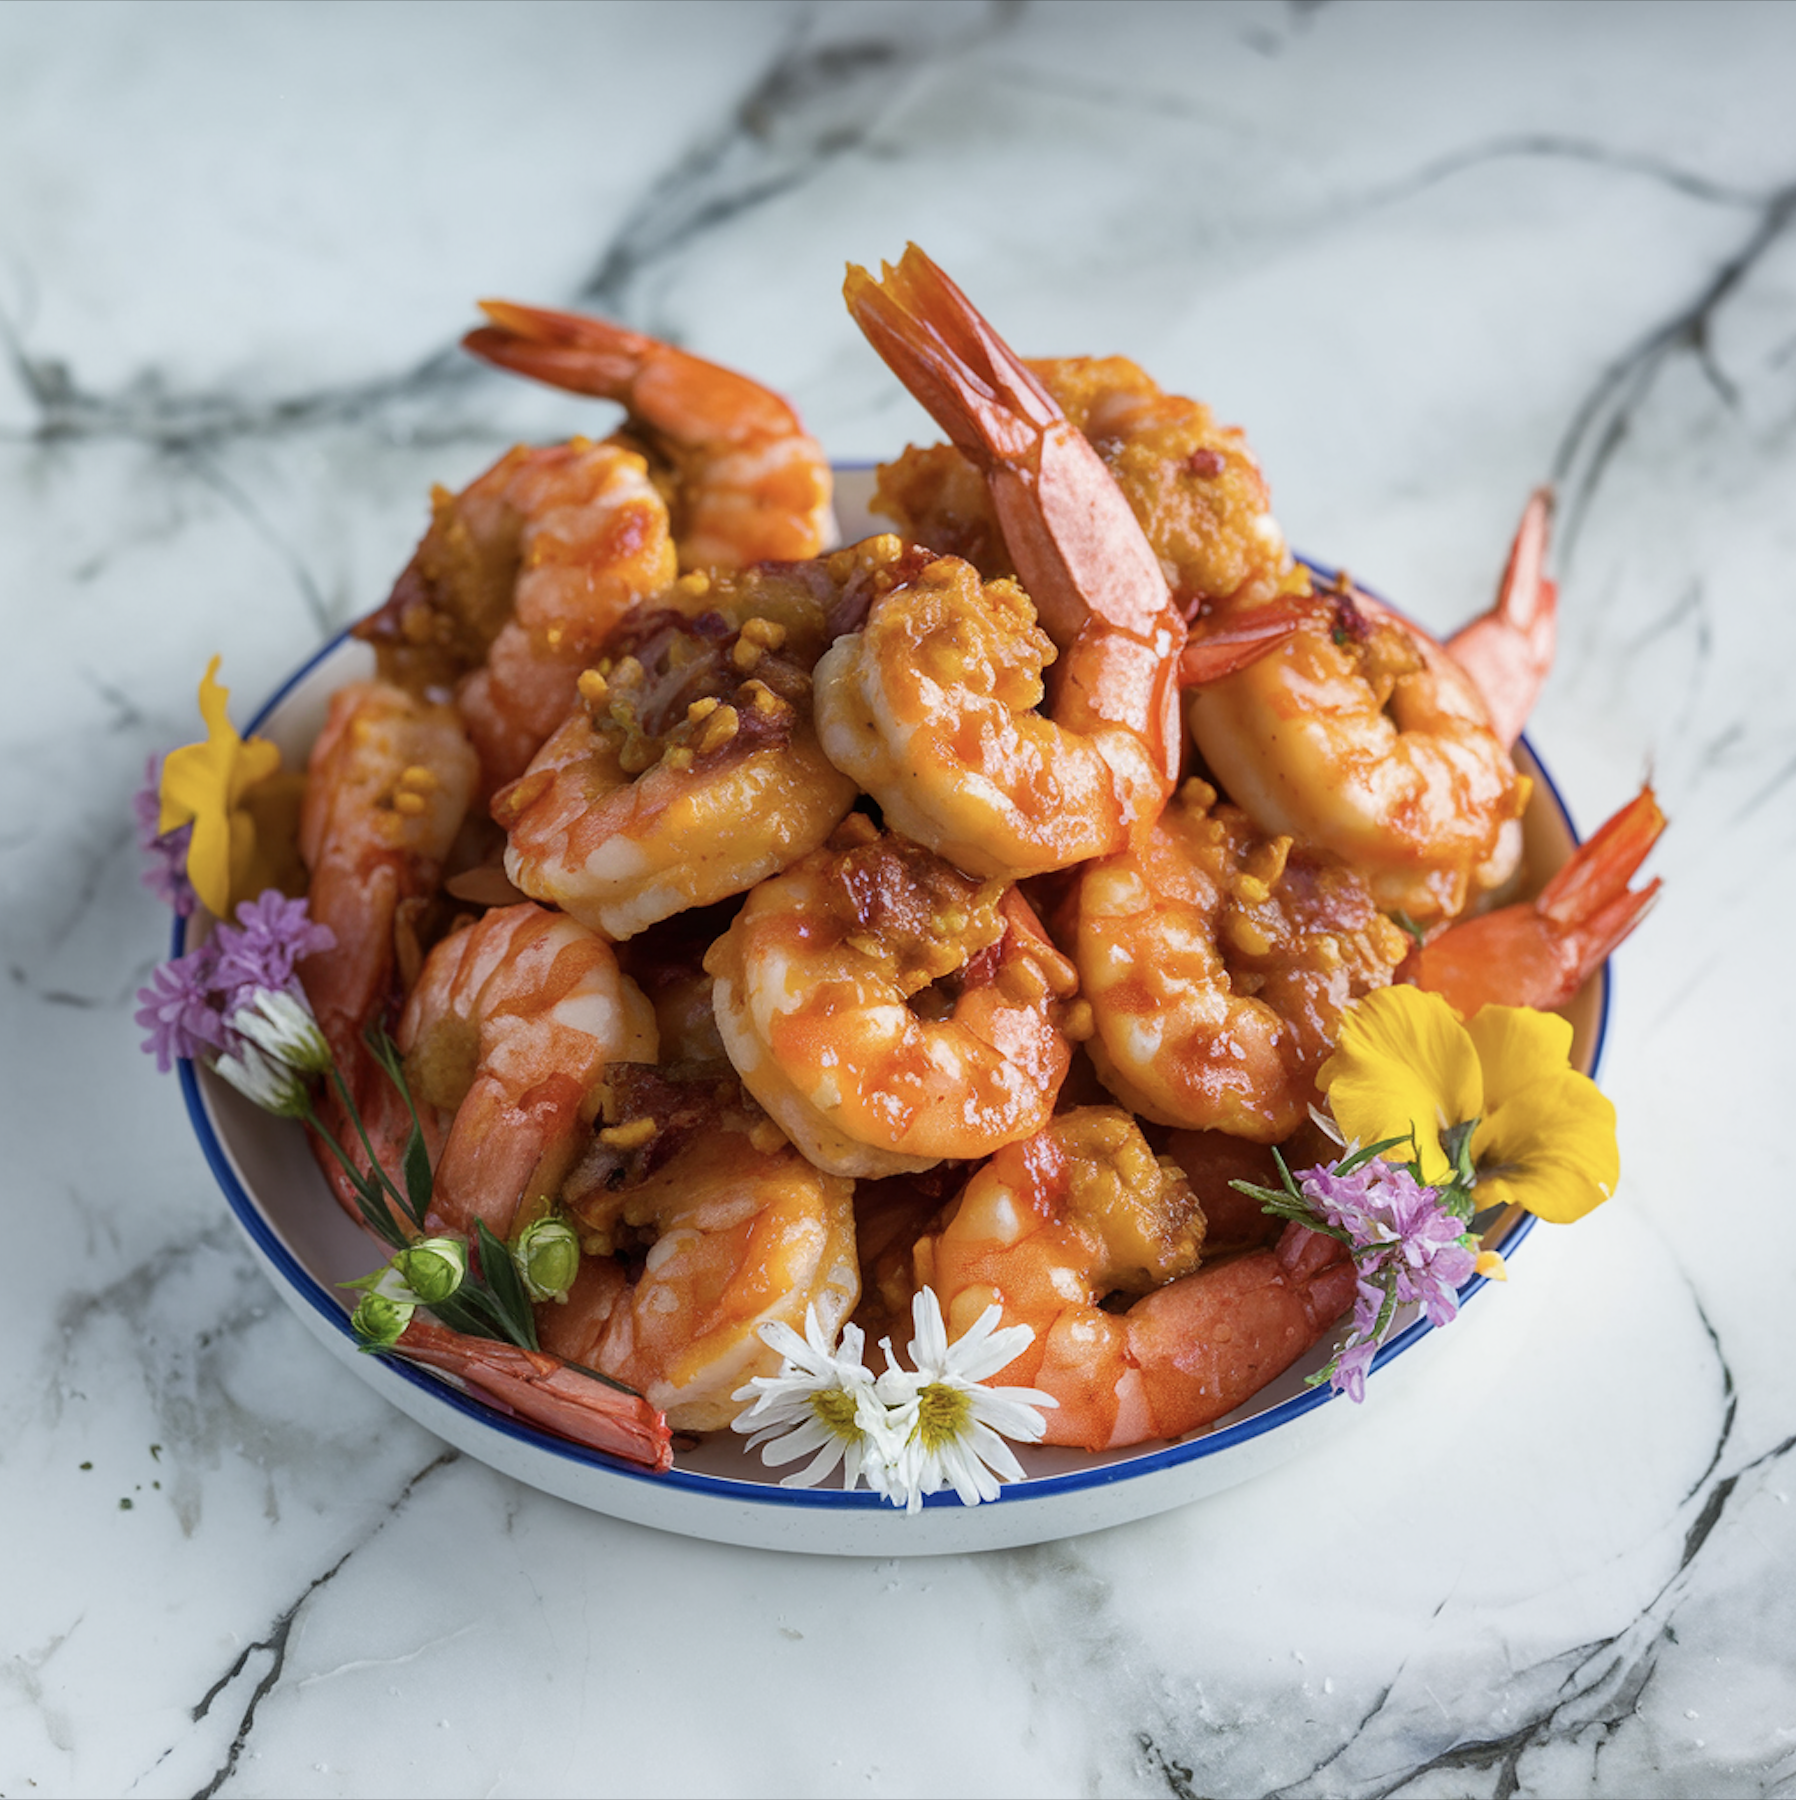
Buffalo Shrimp is a crispy, spicy, and flavor-packed dish inspired by the classic Buffalo wing recipe. Whether served as an appetizer, main dish, or taco filling, this seafood twist on Buffalo-style cooking is a must-try for spice lovers.
For those who enjoy flavorful seafood dishes, you might also love Bang Bang Salmon, which offers a crispy, spicy kick similar to Buffalo Shrimp but with a savory, Asian-inspired twist.
A key ingredient in Buffalo Shrimp is the hot sauce-based coating, typically made using Frank’s RedHot Sauce and melted butter. If you prefer a slightly milder yet still creamy sauce, you can try making Greek Yogurt-Based Dressings as a dip, which balances the spice with a tangy, cooling effect.
What is Buffalo Shrimp?
Buffalo Shrimp is a spicy, crispy seafood dish where shrimp are breaded, fried (or baked), and tossed in a buttery Buffalo sauce. The dish takes inspiration from Buffalo Wings, which originated in Buffalo, New York. Over time, seafood lovers adapted the idea of hot sauce-coated, crispy proteins, leading to the birth of Buffalo Shrimp.
Buffalo Shrimp is often served in various ways, including:
- Game-day appetizer – A crowd-pleasing snack served with dipping sauces like ranch or blue cheese.
- Main dish – Paired with fries, coleslaw, or roasted vegetables for a full meal.
- Taco filling – Stuffed in warm tortillas with toppings like avocado, slaw, and cilantro-lime sauce.
- Buffalo Shrimp bowls – Served over rice, quinoa, or mixed greens for a balanced meal.
If you’re interested in more one-pan meals that minimize cleanup while maximizing flavor, check out this guide on One-Pan Meal Recipes for easy and delicious dishes.
The Origins of Buffalo Shrimp
Buffalo Shrimp is a modern twist on the famous Buffalo Wing, a dish that originated in Buffalo, New York in 1964. The invention of Buffalo Wings is credited to Teressa Bellissimo, co-owner of the Anchor Bar, who first coated deep-fried chicken wings in a spicy hot sauce and butter mixture, serving them with celery and blue cheese dressing.
How Buffalo Shrimp Was Created
As Buffalo Wings grew in popularity across the United States, chefs and seafood lovers began experimenting with other proteins. Shrimp, with its mild flavor and firm texture, became the perfect alternative to chicken.
The concept of Buffalo Shrimp likely emerged in sports bars and seafood restaurants looking to offer a lighter, seafood-based version of Buffalo Wings. Some key points in its history include:
- 1990s: Buffalo Shrimp became a staple on sports bar menus alongside traditional wings.
- Hooters’ Buffalo Shrimp: The restaurant chain Hooters popularized a version of Buffalo Shrimp, serving it crispy-fried and coated in their signature hot sauce.
- Seafood restaurants and coastal regions: became particularly popular in coastal cities like New Orleans, Charleston, and Miami, where fresh shrimp were readily available.
If you love Southern-style seafood dishes, you might also enjoy Bang Bang Salmon, which combines spice, crunch, and creamy sauces for a flavor-packed meal.
Step-by-Step Guide to Making Buffalo Shrimp

Crispy, spicy, and flavorful seafood dish that can be made in different ways, including deep-frying, air-frying, baking, or pan-frying. This step-by-step guide will help you make perfect Buffalo Shrimp every time!
1: Gather Your Ingredients
Before you start cooking, gather all the necessary ingredients.
Essential Ingredients:
Shrimp:
- 1 lb large shrimp (21-25 per pound), peeled and deveined
- ½ teaspoon salt
- ½ teaspoon black peppe
- ½ teaspoon garlic powder
- ½ teaspoon paprika
Coating:
- 1 cup all-purpose flour (or almond flour for a low-carb option)
- 2 eggs, beaten
- 1 cup panko breadcrumbs (for extra crunch)
Buffalo Sauce:
- ½ cup Frank’s RedHot Sauce
- ¼ cup melted butter
- 1 teaspoon garlic powder
- 1 teaspoon smoked paprika
- 1 tablespoon honey (optional, for a sweet-spicy balance)
2: Prepare the Shrimp
How to Clean and Prep the Shrimp:
- Peel and devein the shrimp, leaving the tail on (for easier handling).
- Pat shrimp dry with a paper towel to remove excess moisture. This helps the breading stick better.
- Season the shrimp with salt, black pepper, garlic powder, and paprika.
🔹 Tip: If using frozen shrimp, make sure to thaw them completely before cooking and pat them dry to avoid sogginess.
3: Bread the Shrimp
It’s needs a crispy, golden coating to hold the sauce properly. Follow these steps for the perfect breading:
Set Up a Breading Station:
- Bowl 1: Add flour mixed with a pinch of salt and paprika.
- Bowl 2: Whisk eggs with a splash of water.
- Bowl 3: Pour panko breadcrumbs for extra crunch.
Breading Process:
- Coat each shrimp in the seasoned flour first.
- Dip it into the egg mixture, ensuring full coverage.
- Roll it in the panko breadcrumbs until evenly coated.
- Place the breaded shrimp on a plate or wire rack and let them sit for 5 minutes to help the coating adhere.
🔹 Tip: Double-dip the shrimp (flour → egg → flour again) for an extra crispy coating!
4: Choose Your Cooking Method
Option 1: Deep-Fried (Crispiest Version)
Deep frying gives the shrimp the crispiest texture and a golden-brown crust.
Instructions:
- Heat 2 inches of oil in a deep pan to 375°F (190°C).
- Fry shrimp in small batches for 2-3 minutes until golden brown.
- Remove shrimp and drain on a paper towel-lined plate.
🔹 Tip: Avoid overcrowding the pan, as this can lower the oil temperature and make the shrimp soggy.
Option 2: Air-Fried (Healthier Option)
Air frying reduces oil while still keeping the shrimp crispy.
Instructions:
- Preheat the air fryer to 400°F (200°C).
- Spray the shrimp with cooking oil spray.
- Arrange shrimp in a single layer in the air fryer basket.
- Cook for 6-8 minutes, flipping halfway.
🔹 Tip: To ensure crispiness, don’t overcrowd the air fryer basket—cook in batches if necessary.
Option 3: Pan-Fried (Quick & Easy)
Pan frying uses less oil but still achieves a crispy texture.
Instructions:
- Heat 2 tablespoons of oil in a skillet over medium-high heat.
- Fry shrimp for 2-3 minutes per side until golden brown.
- Drain excess oil by placing shrimp on a paper towel-lined plate.
🔹 Tip: Use a cast-iron skillet for even heat distribution and a better sear.
Option 4: Oven-Baked (Low-Fat Alternative)
Baking is a healthier, no-mess option that still delivers delicious shrimp.
Instructions:
- Preheat the oven to 400°F (200°C).
- Line a baking sheet with parchment paper and lightly grease it.
- Arrange the breaded shrimp in a single layer.
- Bake for 10-12 minutes, flipping halfway.
🔹 Tip: For extra crispiness, broil the shrimp for 1-2 minutes at the end of baking.
5: Make the Buffalo Sauce
The Buffalo sauce is what gives this dish its signature flavor!
How to Make Homemade Buffalo Sauce:
- In a small saucepan over low heat, melt ¼ cup butter.
- Stir in ½ cup Frank’s RedHot Sauce, 1 teaspoon garlic powder, and 1 teaspoon smoked paprika.
- Add 1 tablespoon honey (optional) for a slight sweetness.
- Whisk until smooth and heated through.
🔹 Tip: For a thicker, creamy sauce, add ¼ cup ranch dressing or Greek yogurt.
6: Toss the Shrimp in Buffalo Sauce
Once the shrimp is cooked and crispy, it’s time to coat them in Buffalo sauce.
- Place the cooked shrimp in a large mixing bowl.
- Pour warm Buffalo sauce over the shrimp.
- Toss gently until all shrimp are evenly coated.
🔹 Tip: If you prefer extra crispy shrimp, serve the Buffalo sauce on the side for dipping instead of tossing the shrimp in it.
7: Serve & Enjoy!
Best Ways to Serve :
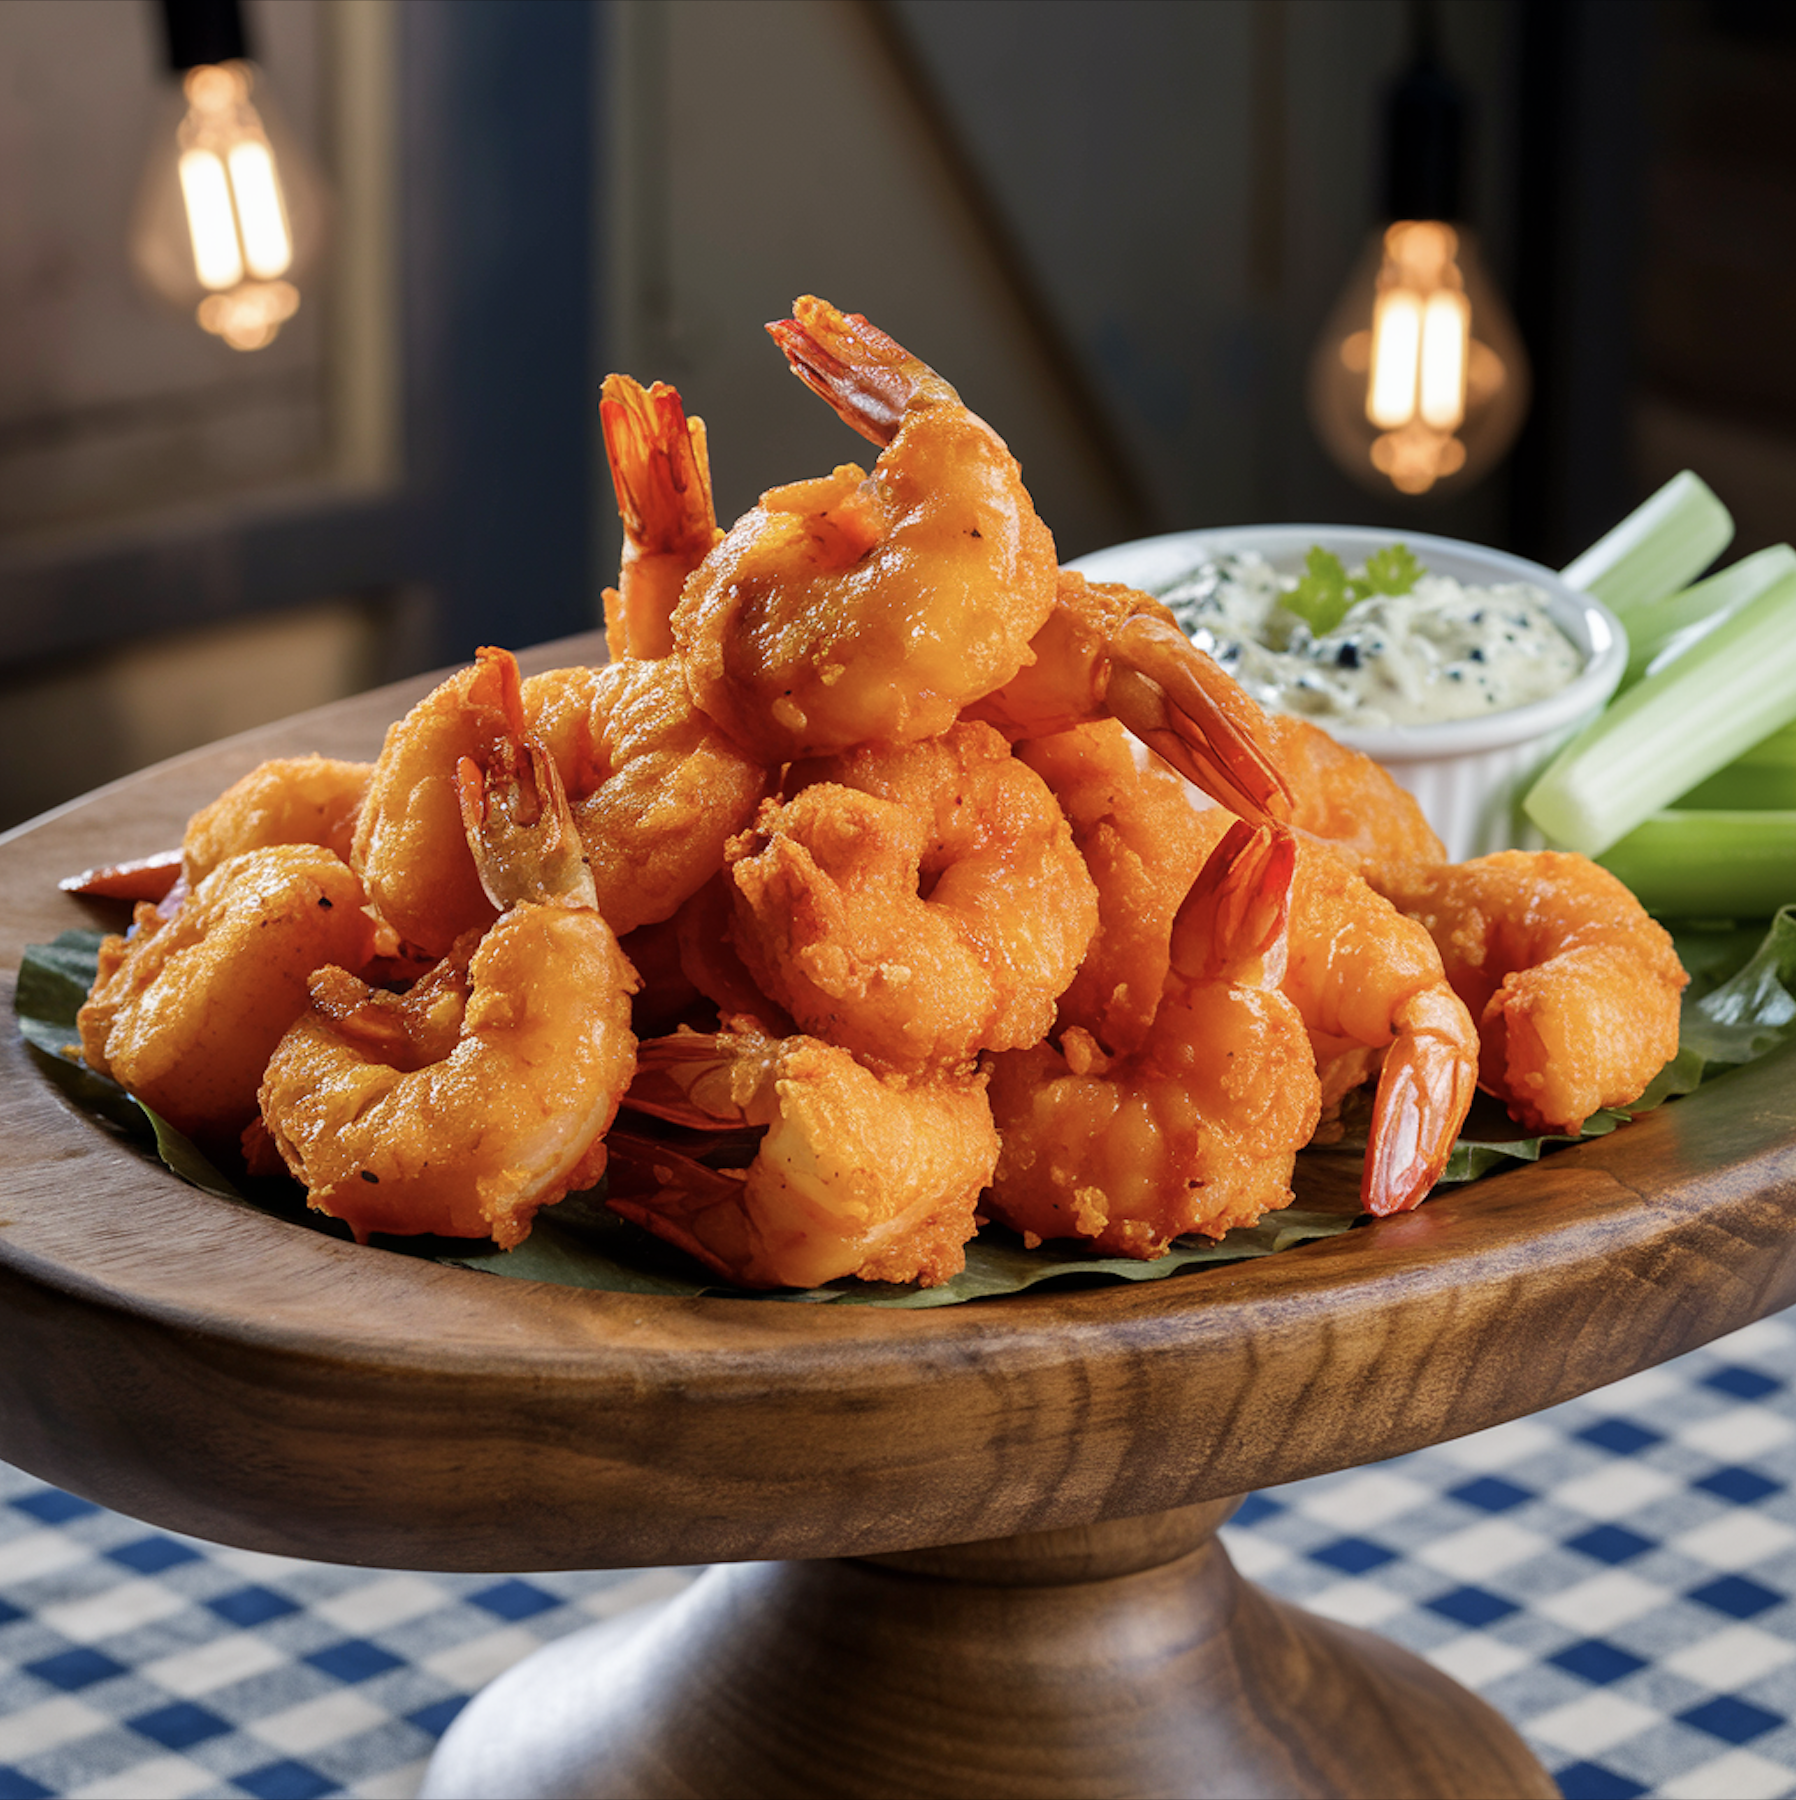
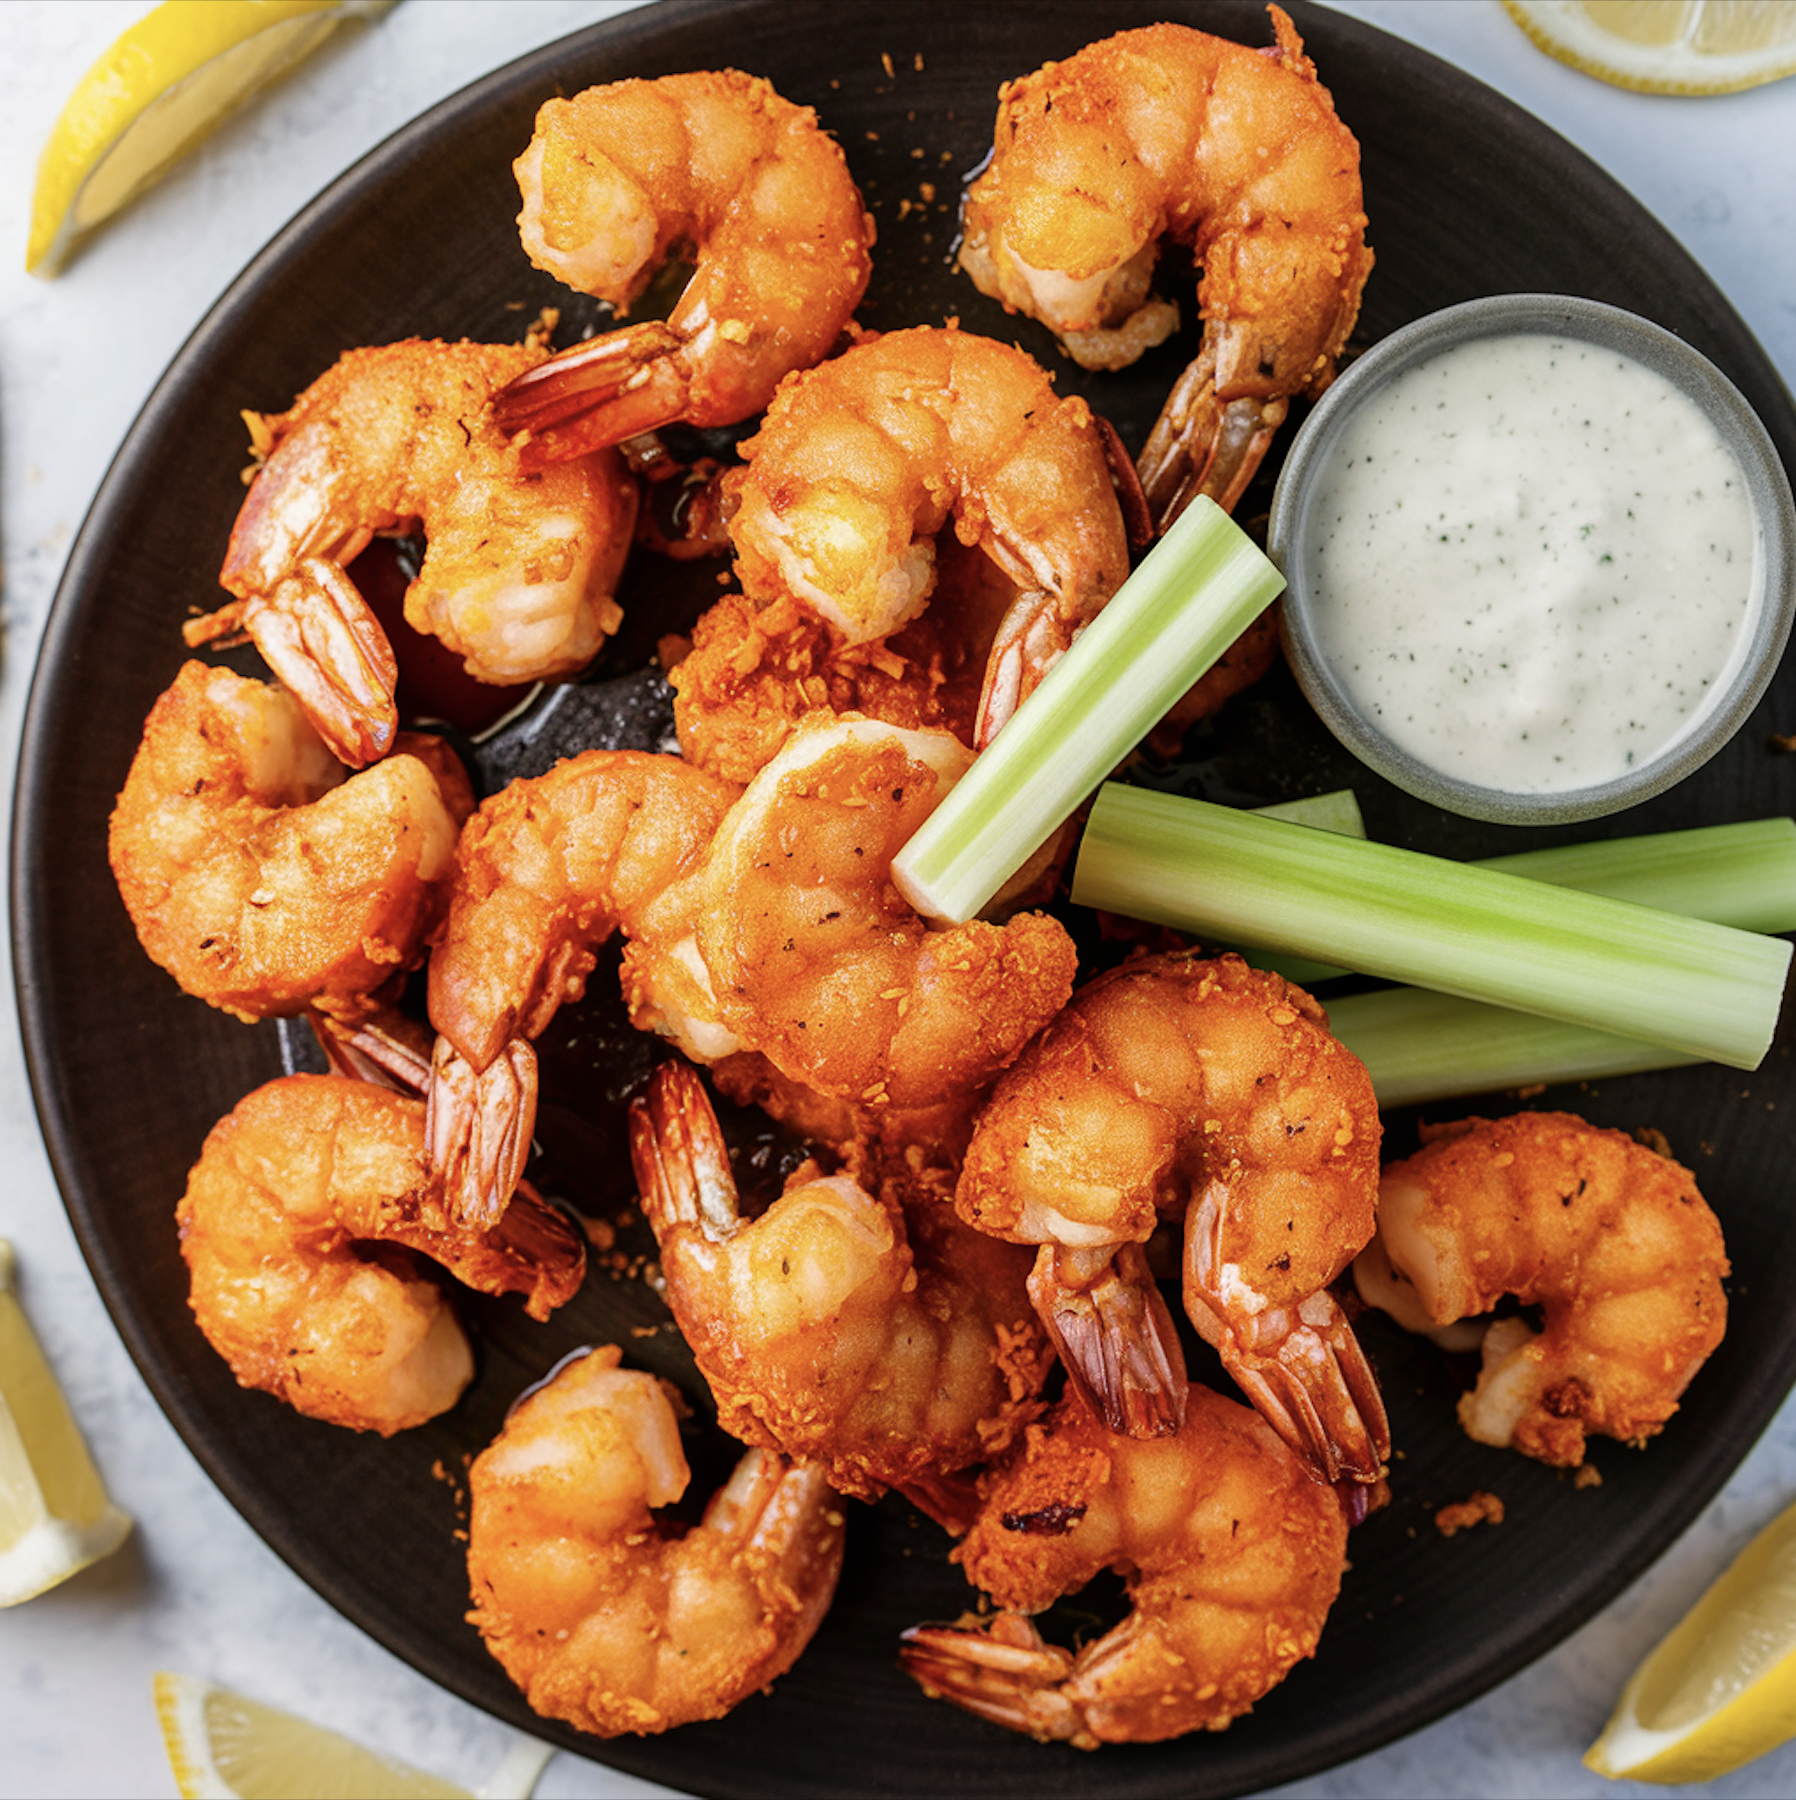
- As an Appetizer – Serve with ranch or blue cheese dressing, celery sticks, and carrot sticks.
- Tacos – Wrap in warm tortillas with slaw, avocado, and cilantro-lime sauce.
- Bowls – Serve over rice, quinoa, or greens for a balanced meal.
- Buffalo Shrimp Po’ Boy – Stuff inside a toasted French baguette with lettuce and remoulade sauce.
For another crispy appetizer that pairs well with Buffalo Shrimp, try Homemade Onion Rings.
Best Cooking Methods for Buffalo Shrimp
Buffalo Shrimp can be cooked in several ways, depending on your preference for texture and crispiness. Here are the most popular cooking methods:
1. Deep-Fried Buffalo Shrimp
Deep frying is the traditional and crispiest way to prepare Buffalo Shrimp. It gives the shrimp a golden-brown, crunchy exterior while keeping the inside juicy.
- How to deep-fry Buffalo Shrimp:
- Heat 2 inches of oil to 375°F (190°C) in a heavy pan.
- Fry shrimp in small batches for 2-3 minutes until crispy.
- Drain on a paper towel-lined plate before tossing in Buffalo sauce.
2. Air-Fried Buffalo Shrimp
For a healthier alternative that still delivers crunch, air frying is an excellent option.
- How to air-fry Buffalo Shrimp:
- Preheat air fryer to 400°F (200°C).
- Spray shrimp lightly with cooking oil.
- Cook for 6-8 minutes, flipping halfway.
3. Pan-Fried Buffalo Shrimp
This method uses minimal oil while still achieving a crispy exterior.
- How to pan-fry Buffalo Shrimp:
- Heat 2 tablespoons of oil in a skillet.
- Fry shrimp for 2-3 minutes per side until golden brown.
4. Oven-Baked Buffalo Shrimp
For a low-fat version, baking is a great choice.
- How to bake Buffalo Shrimp:
- Preheat oven to 400°F (200°C).
- Arrange shrimp on a baking sheet.
- Bake for 10-12 minutes, flipping halfway.
Buffalo Shrimp Variations & Serving Ideas
Buffalo Shrimp is a versatile dish that can be enjoyed in many ways. Here are some of the best variations:
1. Classic Buffalo Shrimp
- Served with blue cheese dip and celery sticks.
- Perfect as a party appetizer or game-day snack.
2. Buffalo Shrimp Tacos
- Served in warm tortillas with slaw, avocado, and ranch dressing.
- For another spicy seafood taco, try Fish Tacos with Homemade Sauce.
3. Buffalo Shrimp Bowls
- Served over rice, quinoa, or mixed greens for a balanced meal.
4. Keto Buffalo Shrimp (Low-Carb Version)
- Breaded with almond flour or crushed pork rinds instead of regular flour.
- Tossed in low-carb Buffalo sauce (butter + hot sauce, no added sugar).
Pairing with the Best Side Dishes
Buffalo Shrimp pairs well with cooling, creamy, or starchy sides to balance the heat. Here are some of the best accompaniments:
1. Dipping Sauces
- Classic Blue Cheese Dressing – Creamy and tangy, perfect for dipping.
- Ranch Dressing – A milder option that complements the heat.
2. Side Dishes
- Coleslaw – A crunchy, cooling contrast to the spicy shrimp.
- Garlic Bread – Adds a buttery, crispy texture.
- Crispy Onion Rings – Another crunchy side, similar to Buffalo Shrimp. If you love crispy, fried appetizers, check out Homemade Onion Rings for a delicious alternative.
3. Drinks
- Iced beer – The best pairing for spicy foods.
- Margaritas or mojitos – A citrusy contrast to the heat.
- Lemonade – Refreshing and non-alcoholic.
If you’re looking for a sweet contrast to balance the spice, consider Banana Pudding as a light and creamy dessert option.
Frequently Asked Questions (FAQs)
1. Can I Make it Without Frying?
Yes! While deep-frying gives the crispiest results, you can also air-fry, bake, or pan-fry for a healthier alternative.
Best Cooking Alternatives:
- Air Frying: Preheat air fryer to 400°F and cook for 6-8 minutes, flipping halfway.
- Baking: Bake at 400°F for 10-12 minutes, flipping once for even crispiness.
- Pan-Frying: Use minimal oil and cook for 2-3 minutes per side until golden.
For a step-by-step guide to using an air fryer, check out Consumer Reports’ Best Air Fryers to choose the best model for cooking Buffalo Shrimp.
2. How Do I Store and Reheat ?
Buffalo Shrimp tastes best when freshly made, but you can store and reheat it for later.
Storage Tips:
- Refrigeration: Store leftover shrimp in an airtight container in the fridge for up to 3 days.
- Freezing: Freeze cooked Buffalo Shrimp in a single layer on a baking sheet. Once frozen, transfer to a ziplock bag and store for up to 3 months.
Best Reheating Methods:
- Air Fryer: Reheat at 350°F for 3-4 minutes to restore crispiness.
- Oven: Bake at 375°F for 5-6 minutes on a wire rack.
- Skillet: Reheat in a dry pan over medium heat for a quick crisp.
Avoid using a microwave, as it will make the shrimp soggy.
For more seafood storage safety tips, visit USDA Guide to Safe Seafood Handling.
3. Can I Use Frozen Shrimp ?
Yes, frozen shrimp can be used, but you need to thaw them properly to prevent excess moisture, which can ruin the crispiness.
How to Properly Thaw Frozen Shrimp:
- Place shrimp in a bowl of cold water for 15-20 minutes.
- Drain and pat shrimp completely dry with a paper towel.
- Season and proceed with breading and cooking.
🔹 Tip: Avoid thawing shrimp in hot water or the microwave, as this can make them rubbery.
4. What’s the Best Hot Sauce for it ?
The classic hot sauce for Buffalo Shrimp is Frank’s RedHot Original, known for its tangy and spicy balance. Other great options include:
- Texas Pete – Slightly milder than Frank’s RedHot.
- Cholula – Adds a hint of garlic and smokiness.
- Tabasco – More vinegar-forward with intense heat.
- Homemade Buffalo Sauce – Mix hot sauce, melted butter, garlic powder, and a dash of Worcestershire sauce.
If you want authentic Buffalo sauce, check out Frank’s RedHot Original Sauce, the most commonly used sauce in Buffalo-style recipes.
Final Thoughts
Buffalo Shrimp is a crispy, juicy, and bold-flavored dish that’s perfect for spice lovers. Whether you choose to fry, bake, or air-fry, this dish delivers big flavor with minimal effort.
Key Takeaways :
- Use fresh shrimp and pat them dry before coating.
- Choose your preferred cooking method for crispiness.
- Toss in homemade Buffalo sauce for an authentic flavor.
- Serve with classic dipping sauces and sides for a complete meal.
Would you like me to refine or expand any sections further? 🚀